-
-
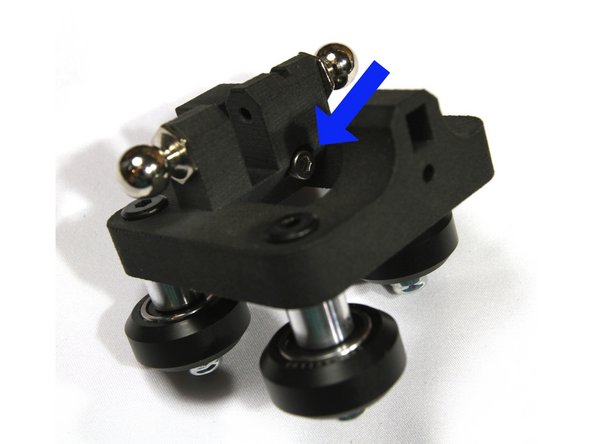
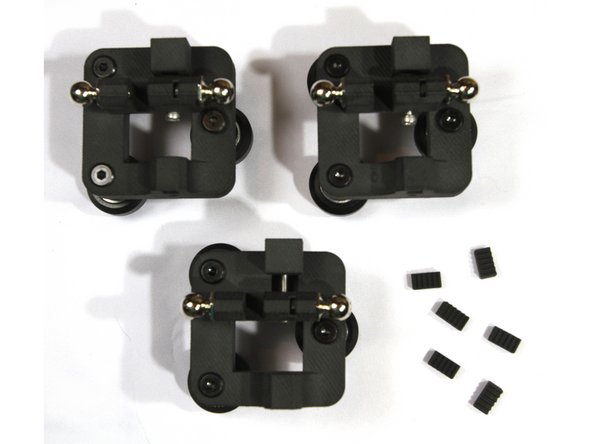
Install two ball studs using two M3 Jam Nuts in each of the three carriages as shown.
-
-
-
Repeat these steps to build all 9 wheels.
-
Locate the individual bagged parts for the wheels. Each contains 1 wheel, 2 bearings, 2 washers, and 1 lock nut.
-
On a flat surface, press one of the bearings into the face of the wheel until it is flush. (photo 1)
-
Turn over the wheel. Drop a washer into the center of the wheel aligned with the center hole. (photo 2)
-
Press the second bearing into the face of the wheel until it is flush. (photo 3)
-
Set aside the completed wheel and lock nut for later steps. The second washer is not used.
-
Be sure to place a washer between the two bearings.
-
The washer may fall out of alignment with the center hole. This is expected.
-
-
-
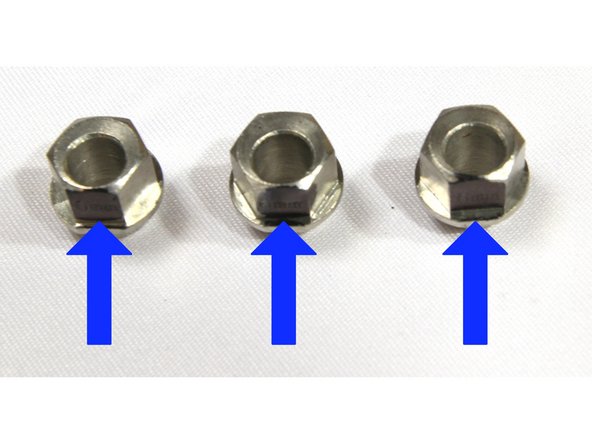
Locate the three eccentric spacers. Mark the surface closest to the offset hole with a black marker as shown in the first photo. It may also already have text on it.
-
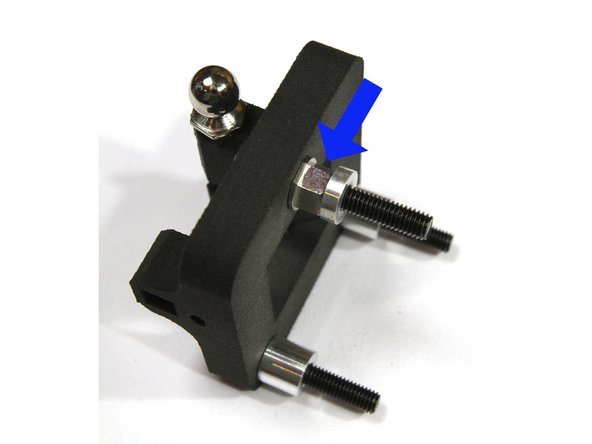
Press one of the eccentric spacers into the back side of the carriage in the side with the single hole. The black marked surface should face out as shown in the photo.
-
Insert three M5x35mm axels into each carriage as shown in the second photo.
-
Add one short 3mm spacer on the axle with the eccentric spacer. Refer to the second photo.
-
Add one long 9 mm spacer to each of the other two axles.
-
Repeat installing the eccentrics, axles and spacers on the other two carriages.
-
-
-
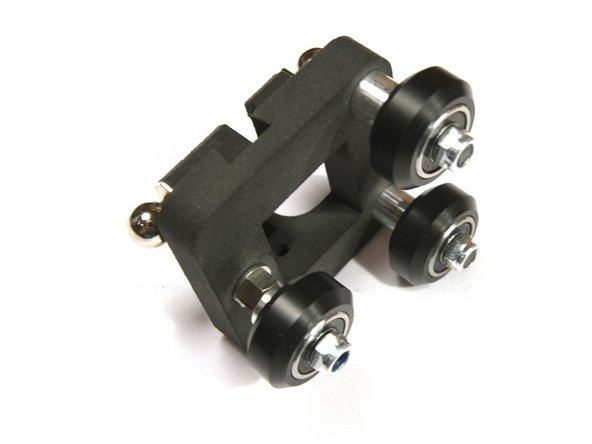
Add three wheels and lock nuts from step 2.
-
If the washer between the bearings moves off center and you can't get the axle through, just use a pen tip or small screwdriver to push it back in place.
-
Tighten the nut with an 8mm wrench and 3mm Allen wrench.
-
Make sure the wheel can spin without being loose or so tight that the bearings feel like they are grinding.
-
Confirm the black mark on the offset spacer is correctly positioned after you tighten the lock nut.
-
Repeat for the other 2 carriages.
-
-
-
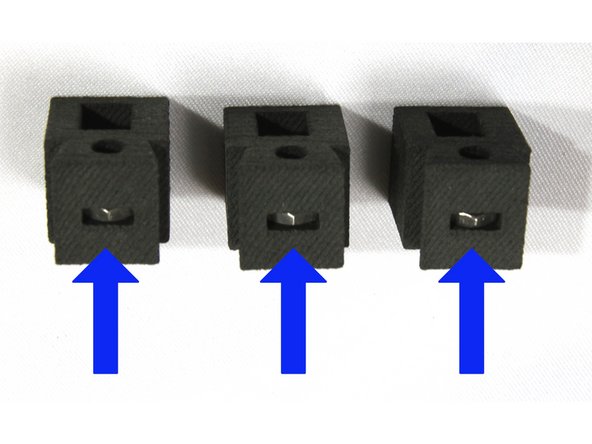
Insert an M3 nut in the three belt tensioners as shown in the first photo.
-
The nut should be oriented away from the top of the carriage. The first photo shows the correct orientation.
-
Slide the tensioner into the dovetail slot at the top of the carriage.
-
Insert an M3x20 SHCS into the hole between the ball studs. Use an Allen wrench to start the screw into the captive nut in the tensioner. Only thread on one or two turns.
-
Complete assembly of all three carriages as shown in the third photo.
-
Cancel: I did not complete this guide.
2 other people completed this guide.


