
Difficulty
Easy
Steps
5
Time Required
00:20:00

In Progress
This guide is currently being written. Reload periodically to see the latest changes.
-
-
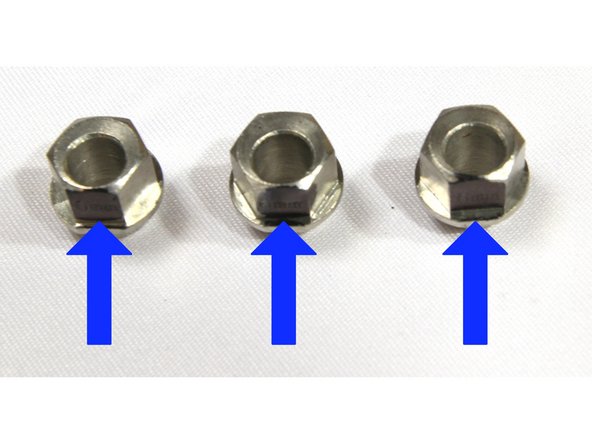
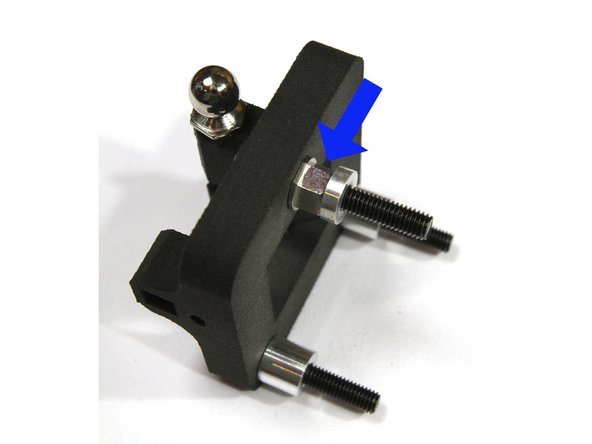
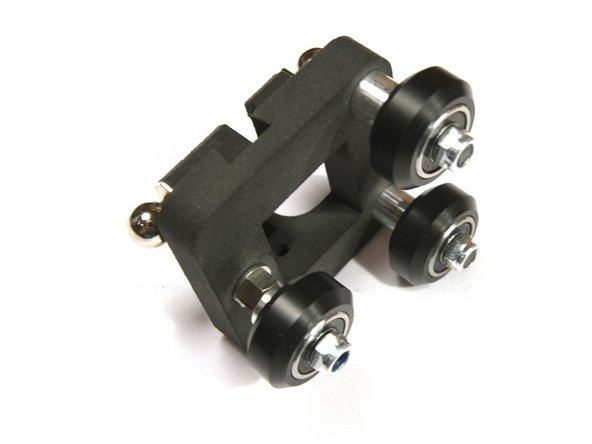
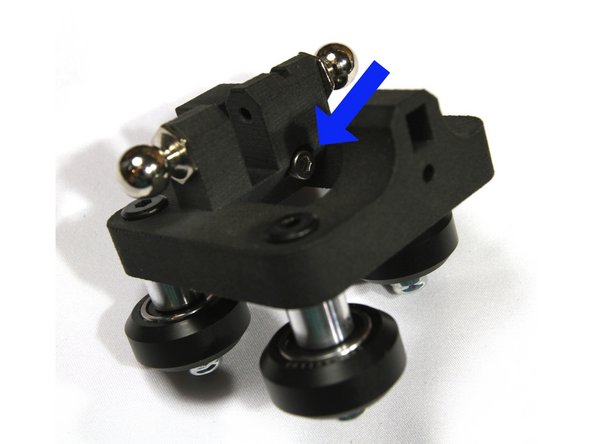
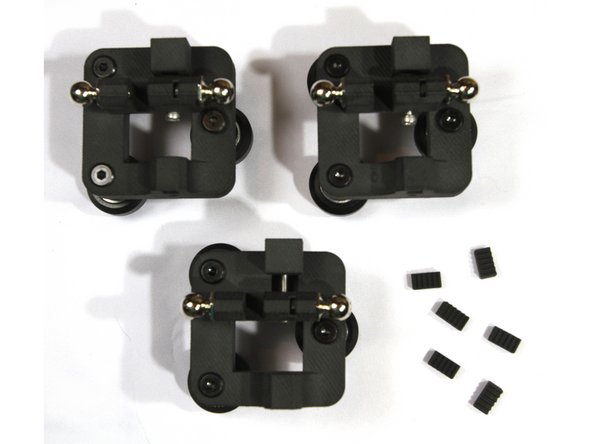
Install two ball studs using two M3 Jam Nuts in each of the three carriages as shown.
-
-
-
Repeat these steps to build all 9 wheels.
-
Locate the individual bagged parts for the wheels. Each contains 1 wheel, 2 bearings, 2 washers, and 1 lock nut.
-
On a flat surface, press one of the bearings into the face of the wheel until it is flush. (photo 1)
-
Turn over the wheel. Drop a washer into the center of the wheel aligned with the center hole. (photo 2)
-
Press the second bearing into the face of the wheel until it is flush. (photo 3)
-
Set aside the completed wheel and lock nut for later steps. The second washer is not used.
-
Be sure to place a washer between the two bearings.
-
The washer may fall out of alignment with the center hole. This is expected.
-
-
-
Locate the three eccentric spacers. Mark the surface closest to the offset hole with a black marker as shown in the first photo. It may also already have text on it.
-
Press one of the eccentric spacers into the back side of the carriage in the side with the single hole. The black marked surface should face out as shown in the photo.
-
Insert three M5x35mm axels into each carriage as shown in the second photo.
-
Add one short 3mm spacer on the axle with the eccentric spacer. Refer to the second photo.
-
Add one long 9 mm spacer to each of the other two axles.
-
Repeat installing the eccentrics, axles and spacers on the other two carriages.
-
-
-
Add three wheels and lock nuts from step 2.
-
If the washer between the bearings moves off center and you can't get the axle through, just use a pen tip or small screwdriver to push it back in place.
-
Tighten the nut with an 8mm wrench and 3mm Allen wrench.
-
Make sure the wheel can spin without being loose or so tight that the bearings feel like they are grinding.
-
Confirm the black mark on the offset spacer is correctly positioned after you tighten the lock nut.
-
Repeat for the other 2 carriages.
Each wheel bag includes a wheel, two bearings, two thin washers or spacers, and a lock nut. Be sure to place a washer/spacer between the bearings. Refer to the build guide for the D300VS. There was no mention of what to do with the washers here so I tried them on the outsides but never the inside. Built all of the carriages and then read the VS guide. Whoops.
-
-
-
Insert an M3 nut in the three belt tensioners as shown in the first photo.
-
The nut should be oriented away from the top of the carriage. The first photo shows the correct orientation.
-
Slide the tensioner into the dovetail slot at the top of the carriage.
-
Insert an M3x20 SHCS into the hole between the ball studs. Use an Allen wrench to start the screw into the captive nut in the tensioner. Only thread on one or two turns.
-
Complete assembly of all three carriages as shown in the third photo.
Initially, I was thrilled that these parts were SLS parts but I have to say I was a little disappointed when I unpacked them because they seem to be made of the Duraform EX, a 3D Systems material (or the like) which, in my experience, is a relatively soft SLS material. The only scenarios I have found it to be useful for are somewhat flexible parts and living hinges with some appreciable life. Personally, I would have liked to have seen these made of the basic straight nylon (I think it’s Duraform PA). Unfortunately I think it only comes in white, though, and my guess is that one of the reasons for choosing the current material is because it is black.
Be sure to clean out any residual powder left in the bottom of the pockets for the nuts. This really bit me on 2 of the 3 parts I received. The first one was off enough to begin cross threading and before I knew it, I had the nut spinning in the pocket… Which became a bear to get back out because the design doesn’t lend itself to any means of grabbing onto the nut.
Note on the belt tensioners: The hole is tapered so the top is slightly smaller than the bottom. This allows the wedges to use friction to hold the belts. Also, if there’s a way to install them on the carriage without having to remove them later to get the belts on, I don’t know and couldn’t figure out how.
I read this and the original several times and kept looking at the printed wedges wondering, “where the #$%# do these go?” You end up putting one in each of the square holes (there one in each SLS printed tensioner [with the wedge on it] and one on the bottom of the carriage.
-


Cancel: I did not complete this guide.
2 other people completed this guide.
Note: This is the correct “up” position. I put on the carriages upside down and had the pleasure of having to remove the top and endstops to fix.
Mike Sawyer - Reply